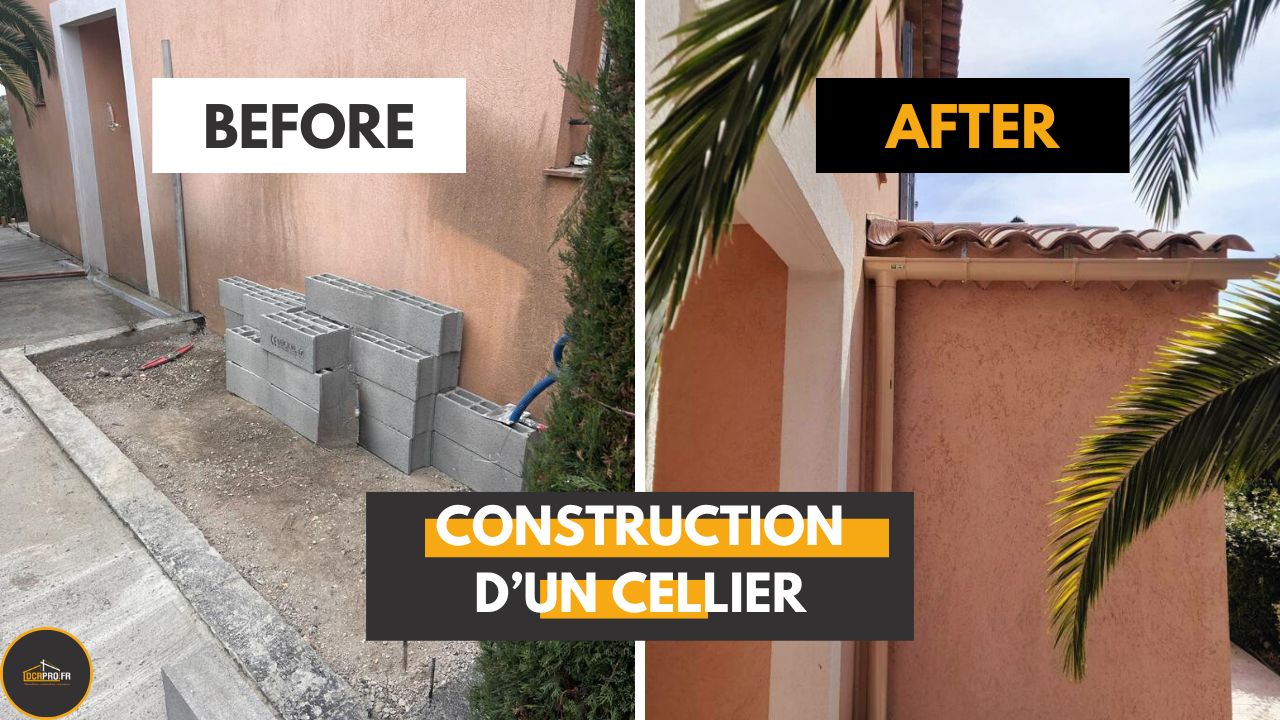
Every project starts with a careful analysis of the client’s needs. When building a utility room, this step is crucial. We work closely with our clients to understand their storage requirements and do everything we can to understand and meet their needs. Here is how the construction of a utility room in Cagnes-sur-Mer went:
1. Permits and design
Before starting the project, you need to make sure that a building permit is not required. Generally, if it is a first extension with a footprint of no more than 5 m², a building permit is not needed. In all other cases, you should check with the town hall about the required permits.
Once this step is settled, it is time to move on to the design. Depending on your needs and budget, you can hire an architect or an engineer, or entrust your project to the contractor carrying out the work. The most important thing is to have a detailed plan that covers the layout of the space and the choice of materials.
2. Walls and foundations
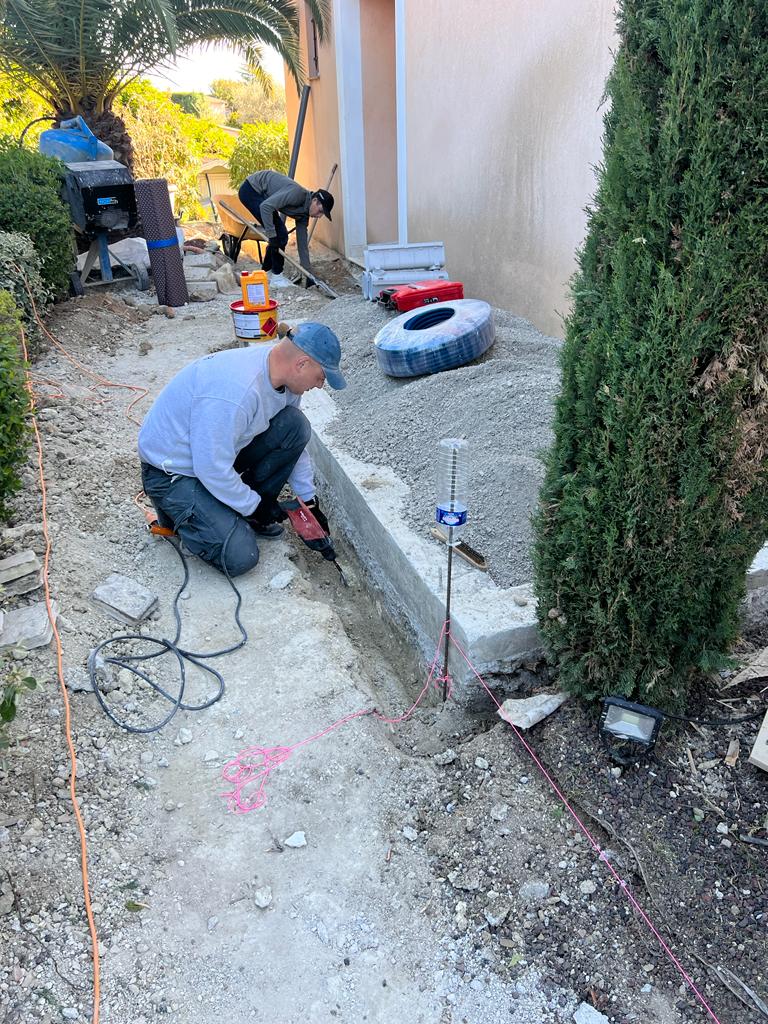
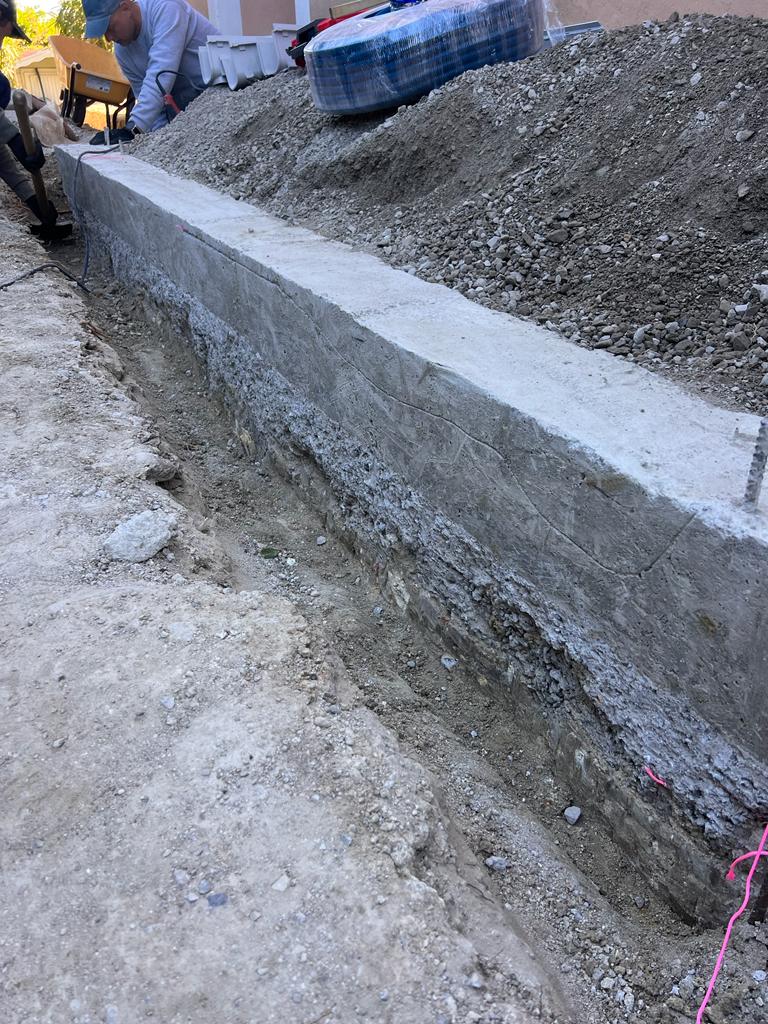
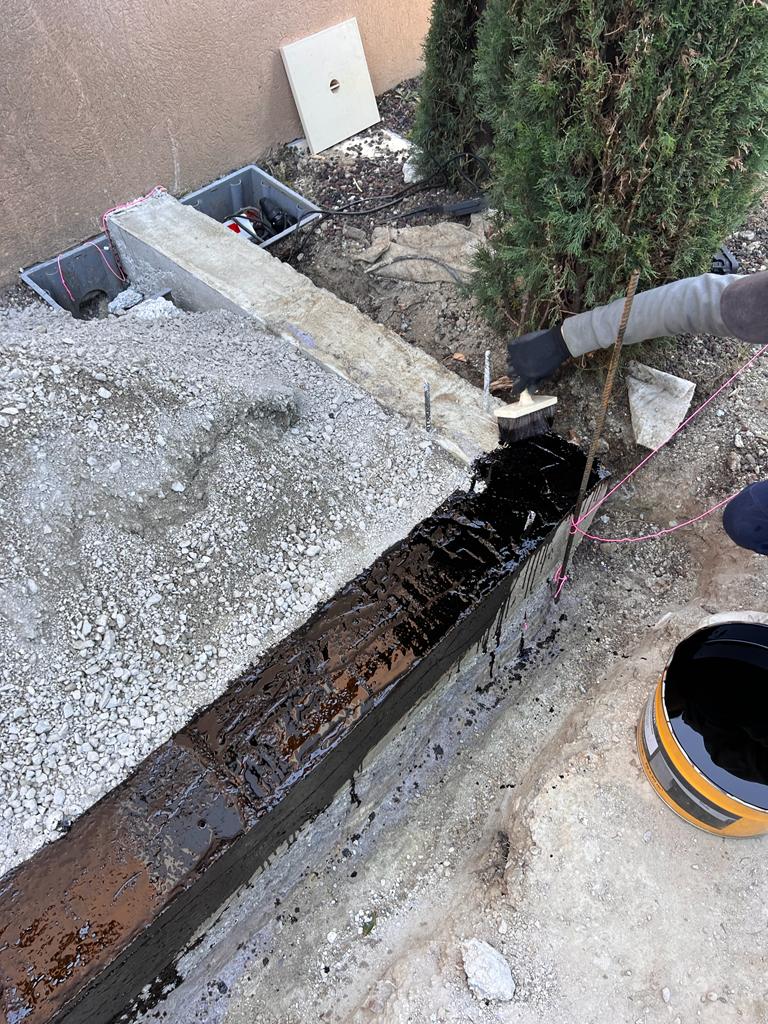
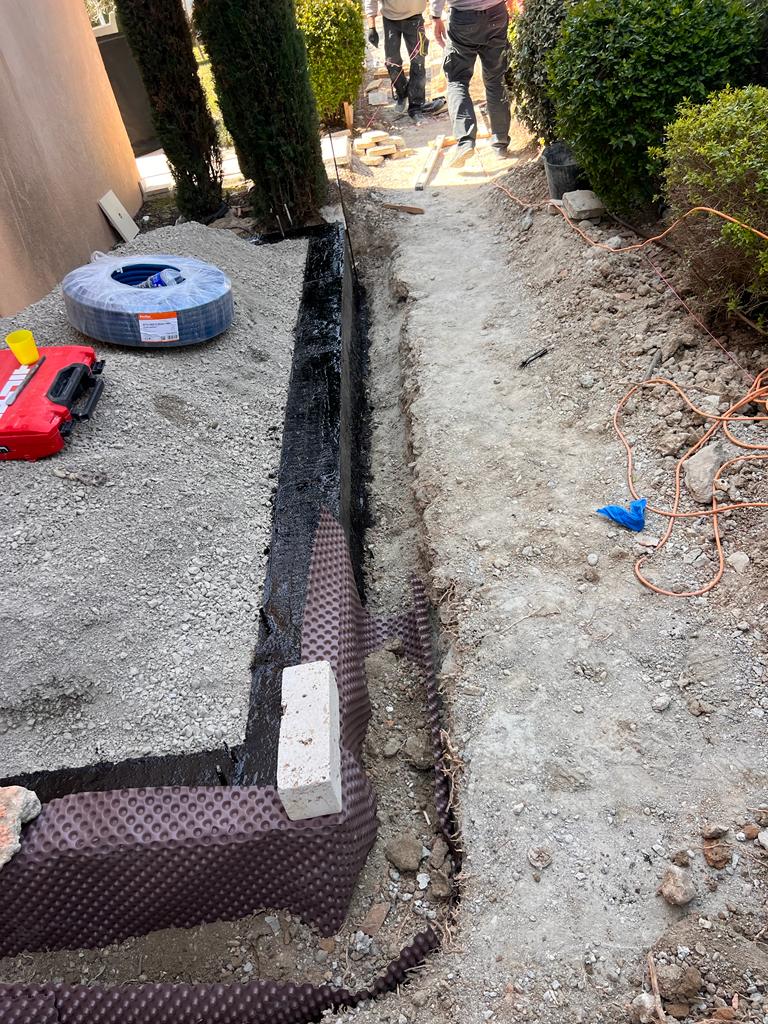
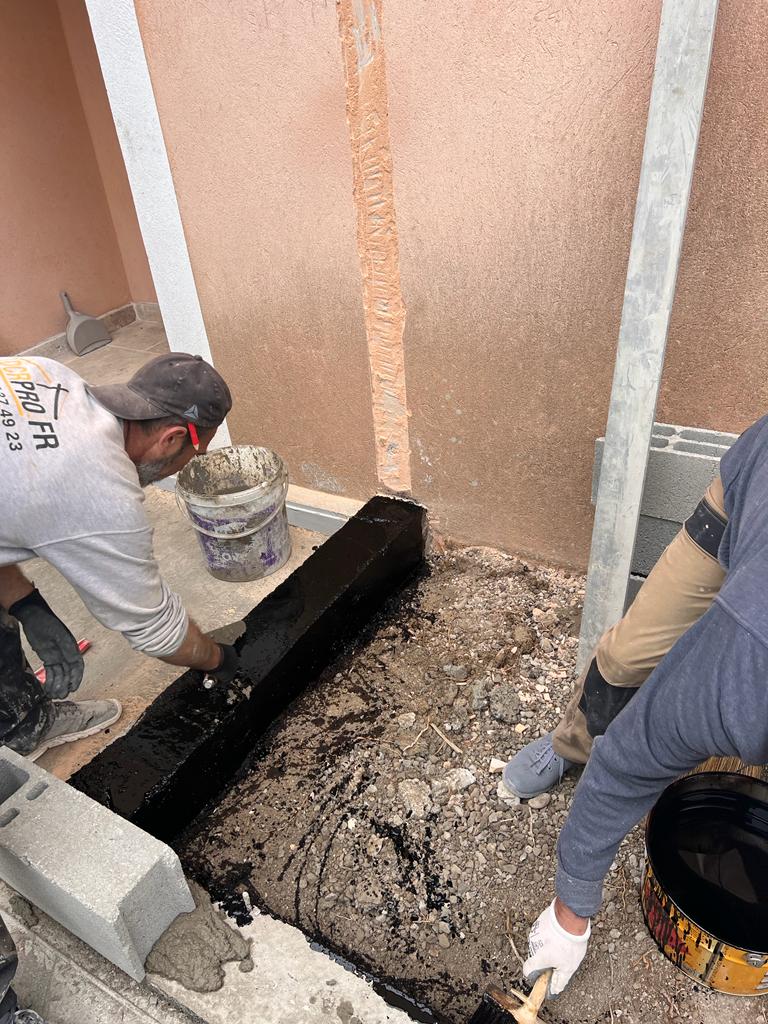
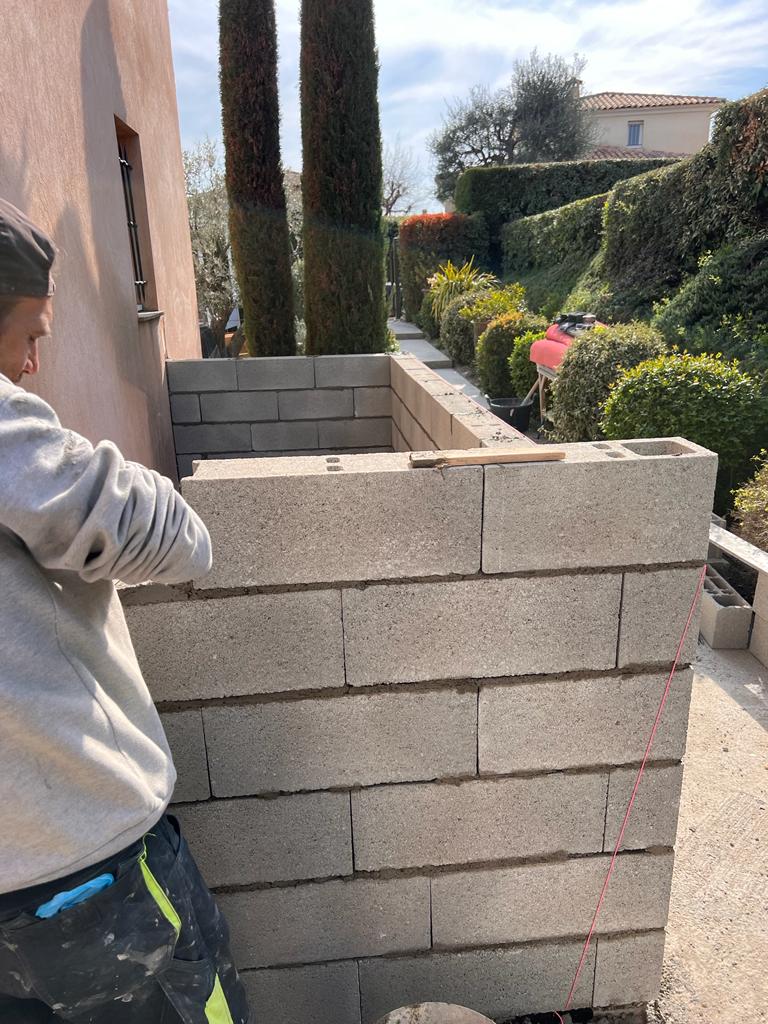
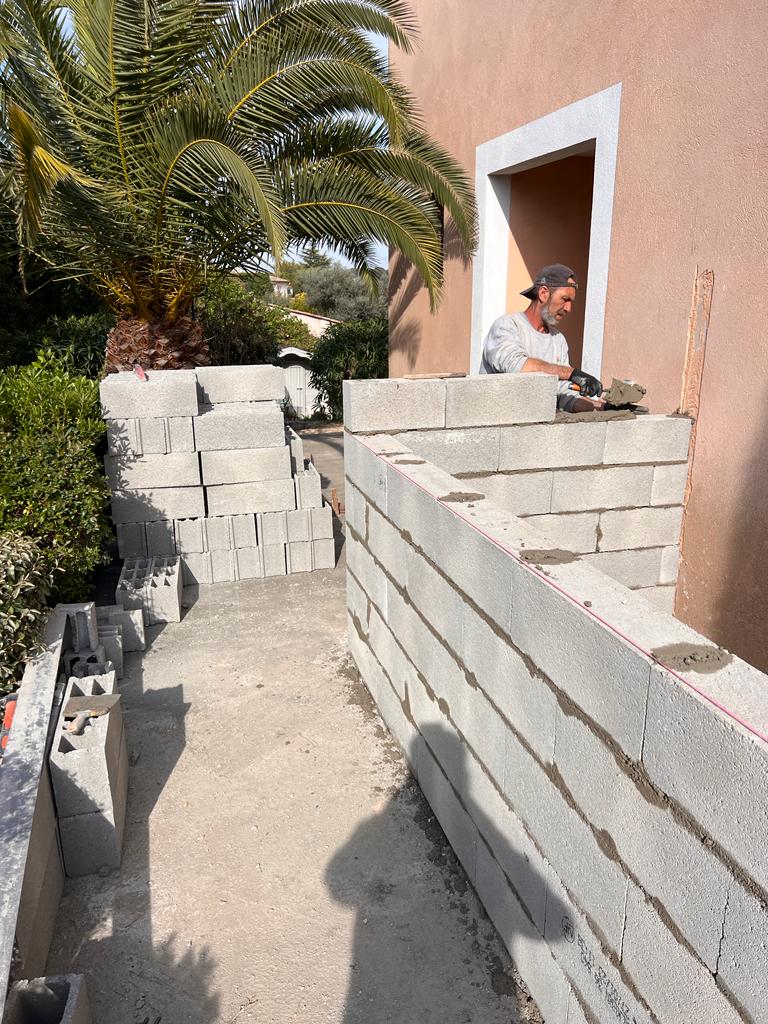
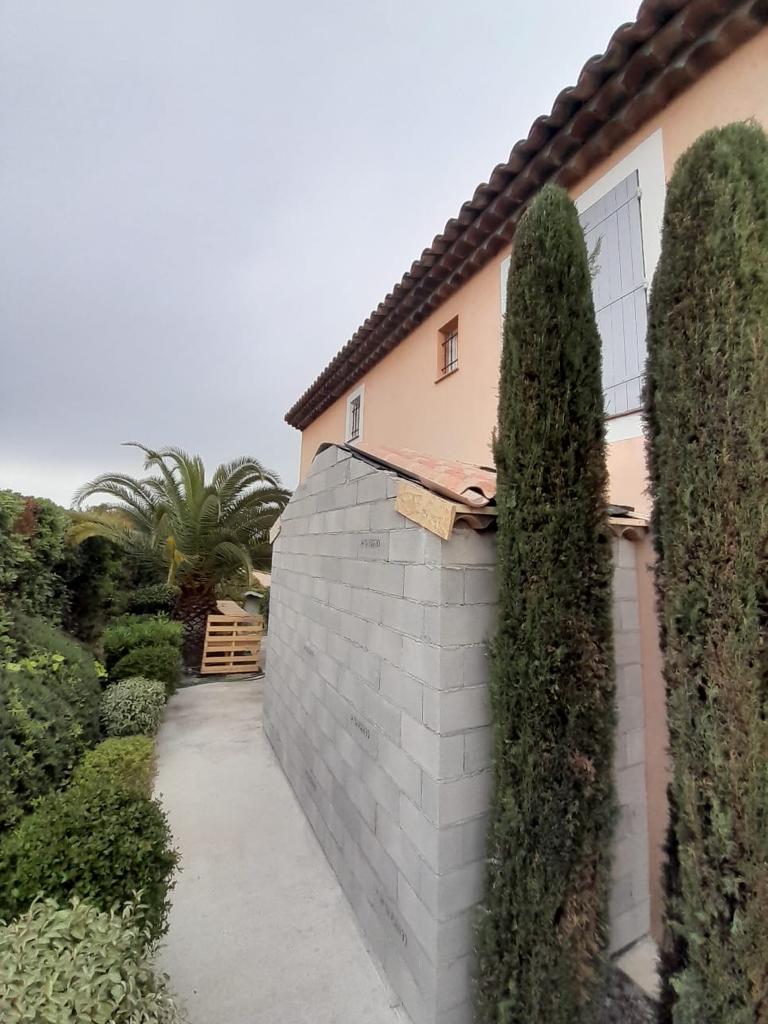
This phase is the actual construction of the utility room. After the earthwork and the removal of the rubble, we start building the foundations and the structure: strip footing, bituminous membrane waterproofing, hollow concrete block walls, floor, roof and any other structure needed are built according to the plans and building standards.
3. Protection and demolition
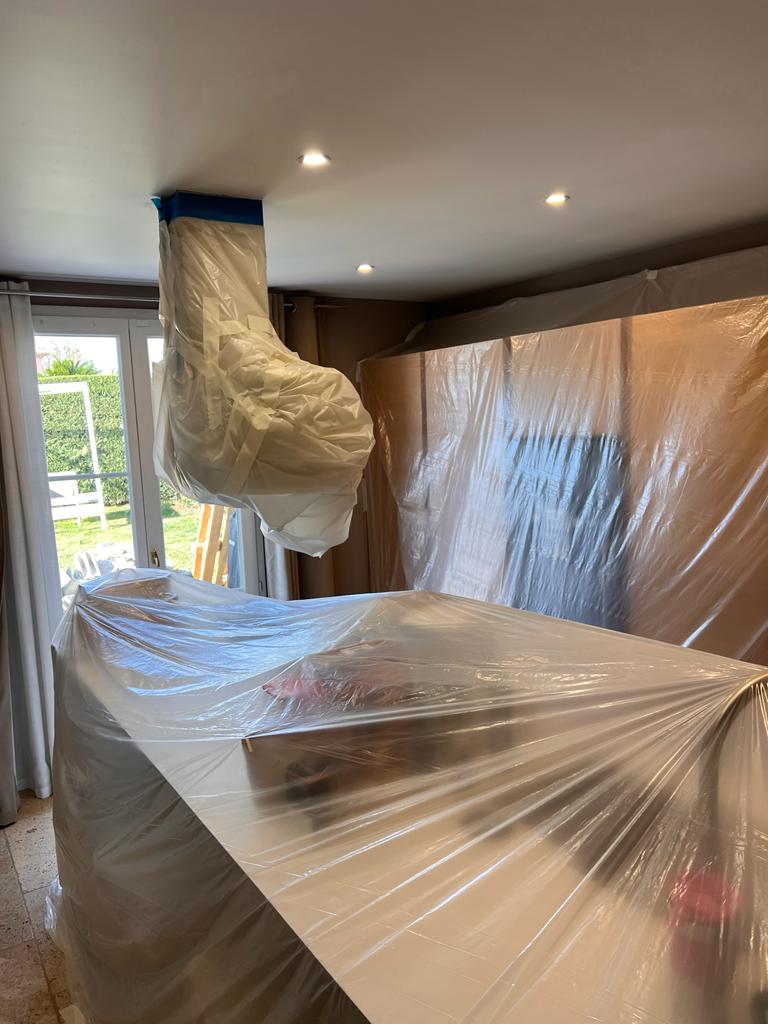
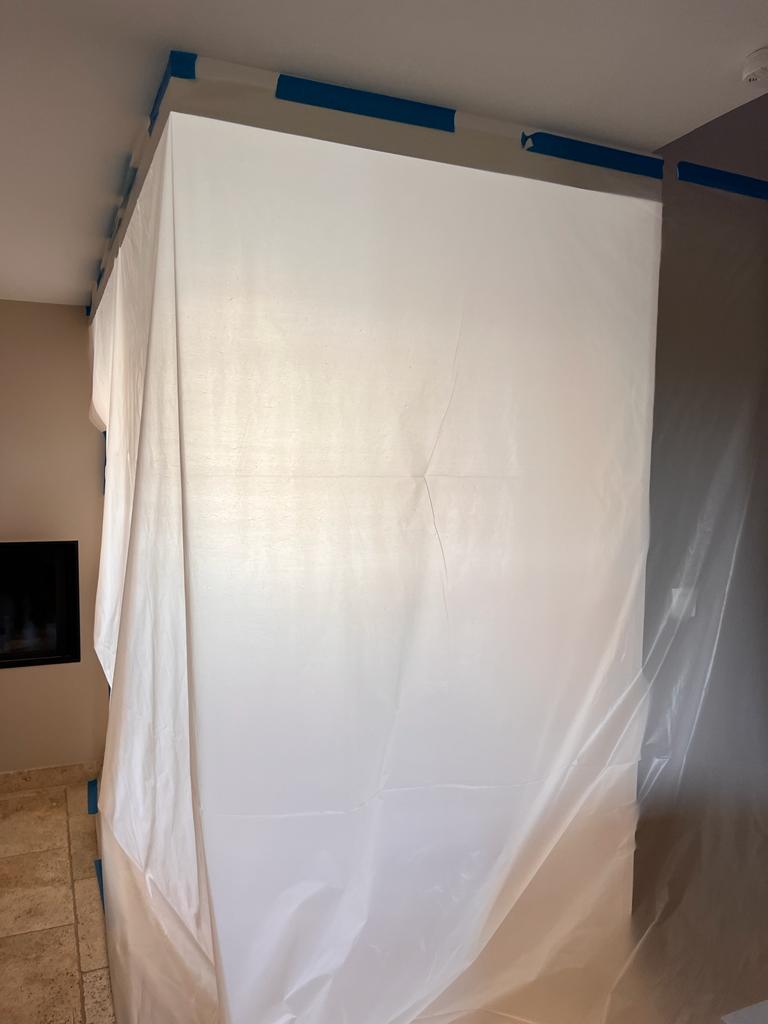
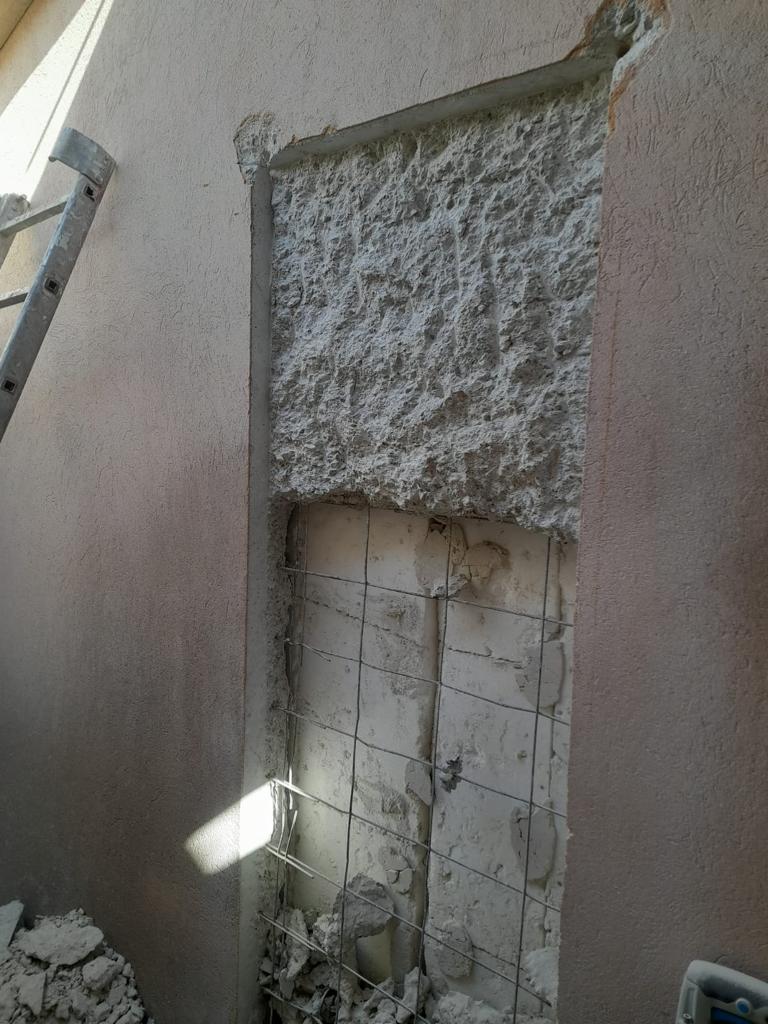
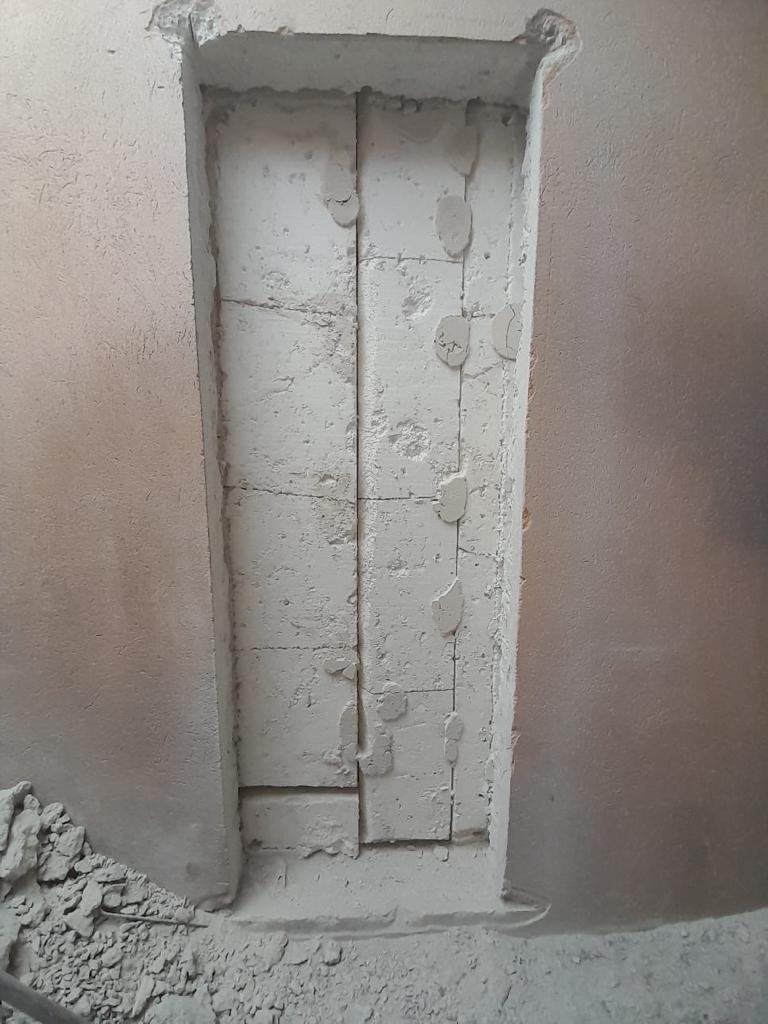
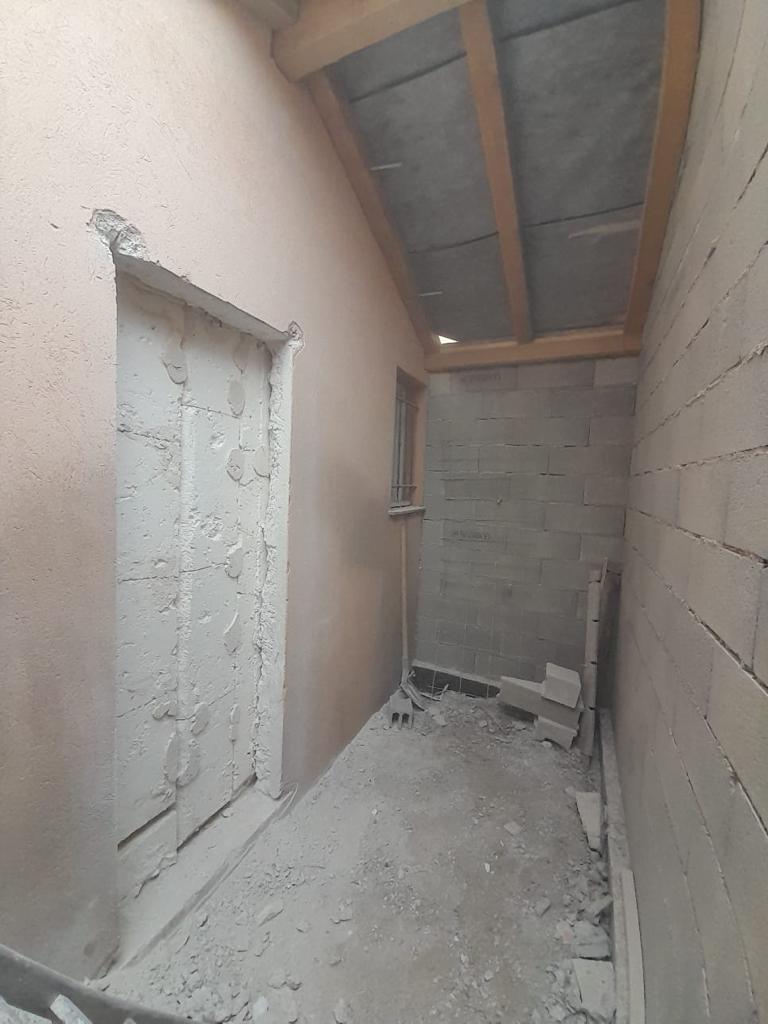
To connect the utility room to the rest of the house, an opening has to be made in the exterior wall. Before that, the rest of the house must be protected against dust. Once everything is protected, we carefully demolish the section of the exterior wall, starting by shoring up the floor. Even for a simple door opening, solid reinforcement is needed, which is why we poured a concrete beam to reinforce the opening.
4. Plumbing and electrical
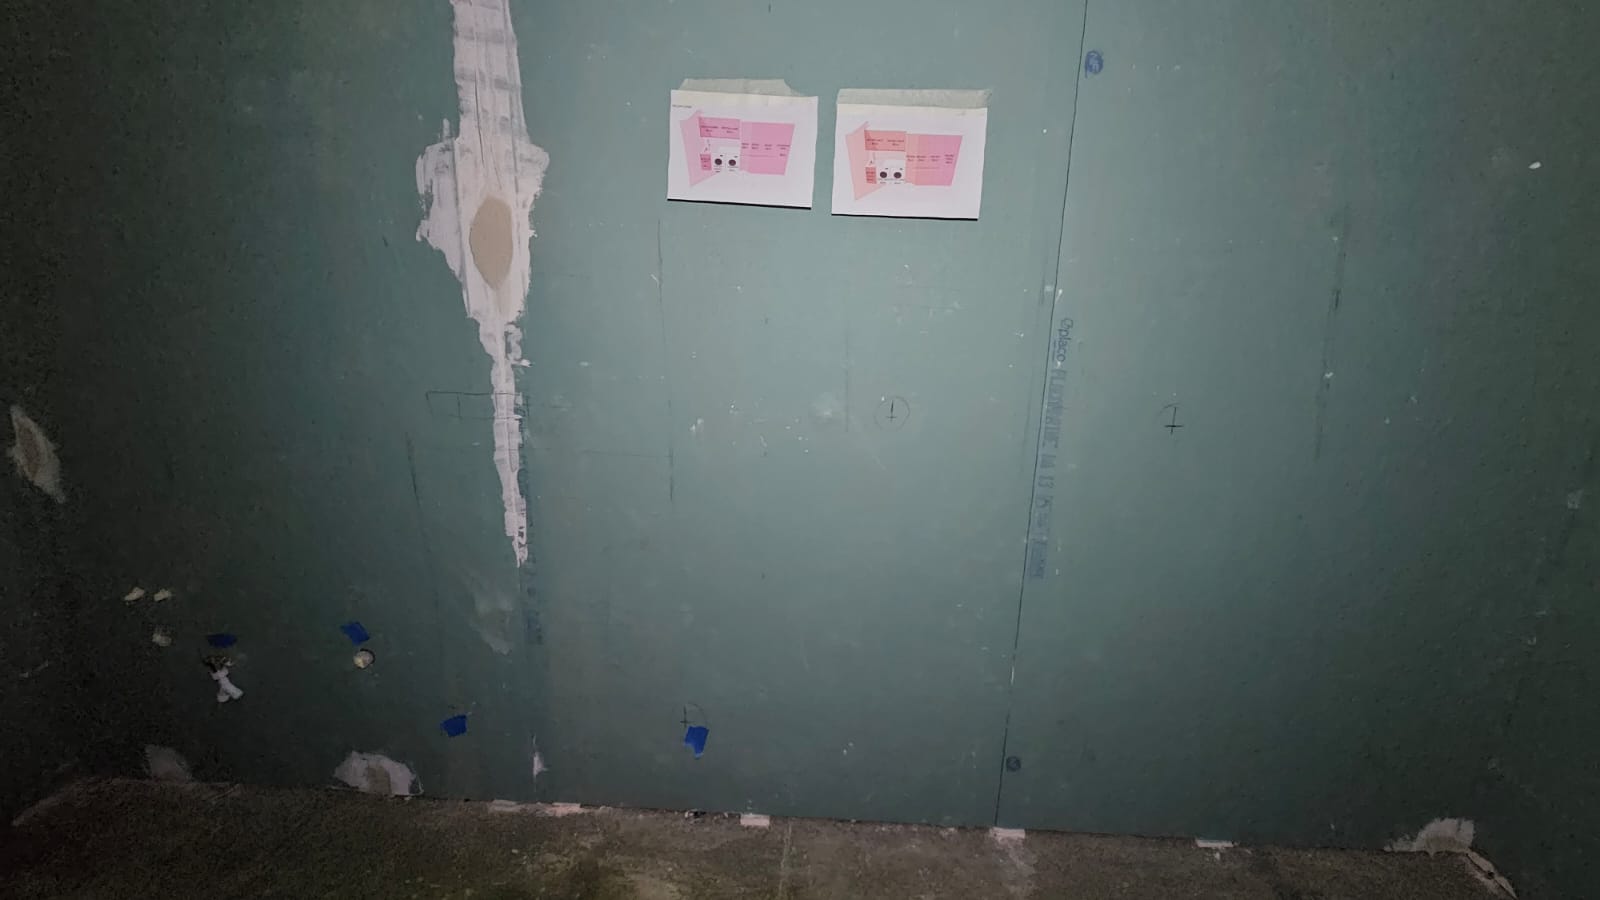
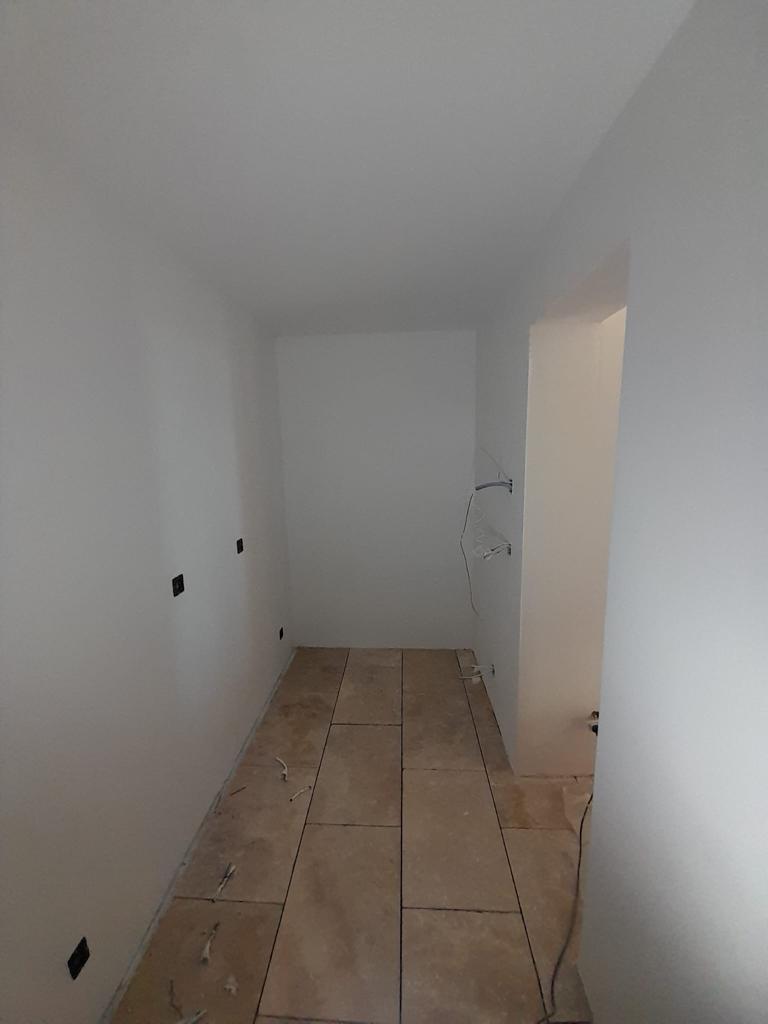
For the utility room to be functional, it needs outlets, lighting, switches, and water supply and drain lines. To do this, we ran additional electrical circuits and added breakers to the existing electrical panel. For the plumbing, we modified the hot and cold water supply and the wastewater drainage. The utility room is now equipped with recessed spotlights, outlets for appliances, switches, a faucet with a sink, and a water line for an American-style refrigerator.
5. Finishing
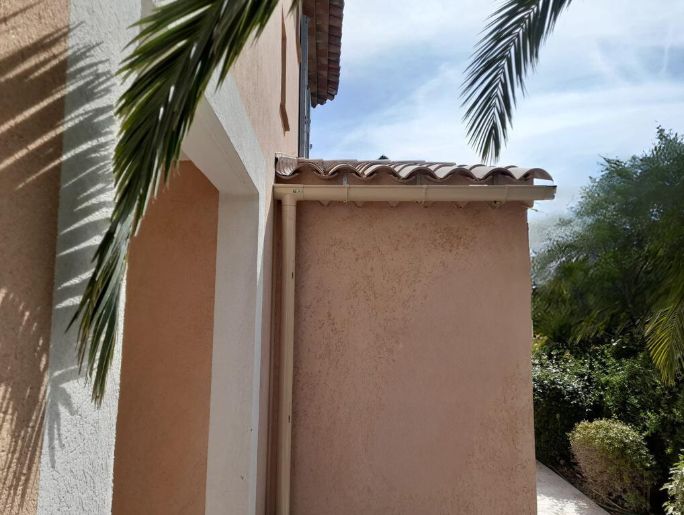
After installing the wall linings, the insulation and the drop ceiling inside the utility room, it is time for the interior and exterior finishes: plaster, paint, tiling, and an exterior facade render in the same color as the existing facade. You have to be especially careful when choosing the render: if the facade was rendered years ago, chances are the color no longer matches because of exposure to sun, rain, temperature changes and so on. We therefore recommend choosing several shades, applying them to a sample and waiting until they are completely dry to find the one closest to the existing color.
Building a utility room, like any other construction or renovation project, requires technical expertise, meticulous planning and precise execution at every step. Our goal is to offer a solution tailored to each client’s specific needs, combining functionality, durability and good looks.
To get a free quote for our services and estimate the cost of your project, fill out the quote request form and our team will contact you within 48 hours!